
Easily create tickets in eKo!
Ensure customer satisfaction and keep your business productive with ticketing.
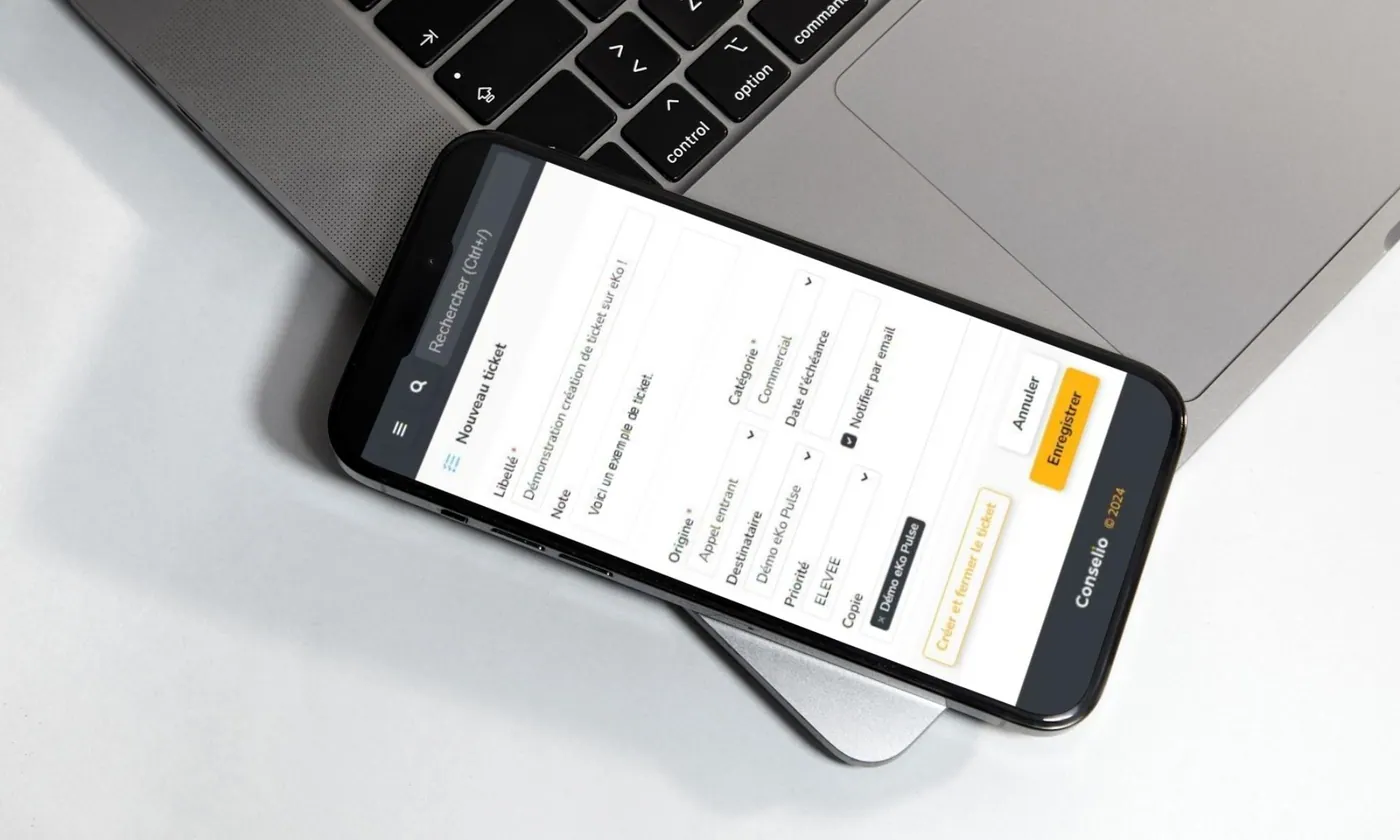
Construction, Accounting, Human Resources… whatever your sector, tickets will be useful to you, for many reasons: a customer submits a service or support request, a supplier reports a problem, a member of your team has a request… To make sure all these requests are taken into account, ranked by importance, dealt with within a specified time and assigned to the right person: ticketing is the solution.
The ticketing feature is also a great replacement for the call log book still found in many businesses.
In this tutorial, we guide you through creating tickets in eKo to maximise your efficiency!
Here are the steps to follow to create a ticket:
A ticket is an excellent way to link internal exchanges and, thanks to eKo, to link these exchanges to the record of the customer concerned. It replaces, for example, a call log book and lets you track precisely how your teams follow up on your customers' requests.
1. First step: Log in to eKo with your username and password (you can use your computer or the device of your choice: tablet, phone...).
2. Go to the "ticket" module in the navigation bar on the left.
3. Here you will find the list of all your open tickets. To create a new ticket, click the yellow "Create" button at the top right. 
4. Fill in the following fields (see screenshot below):
- Label: a descriptive title for the ticket.
- Note: description of the ticket, information to pass on.
- Origin: where does the request come from? This field defines the nature of the incoming communication, whether it is an incoming call, a letter…
- Category: what type of request is it? This defines the overall subject of the communication, whether it is a sales, technical or accounting question…
- Recipient: who in your company is the communication intended for?
- Due date: does the request need to be dealt with in the short or long term?
- Priority: sets an urgency level (low, medium or high)
- Notify by email: by ticking this box, the recipient of the ticket will be notified of its creation by email.
- Copy: add other eKo CRM users in copy, in addition to the person in charge.
Note: To save time, most fields are optional. However, we strongly advise you to take the time to fill in all the fields for better follow-up.
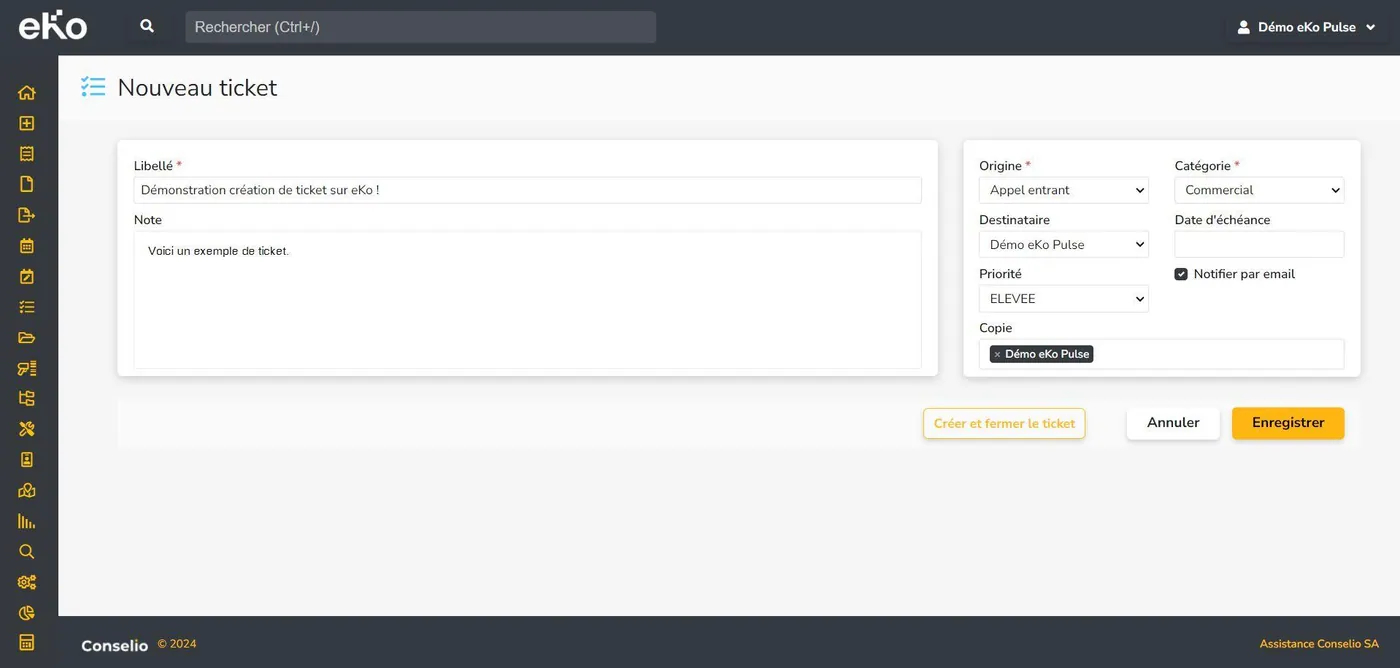
5. Finally, to save, click Save.
A "Create and close ticket" button is available if the request has already been dealt with but you want to keep a record of it. eKo CRM® also lets you subscribe to a ticket to follow its progress automatically. Very useful for following how your colleagues are handling a ticket without having to worry about it. Curious to discover all of eKo's features? This way!